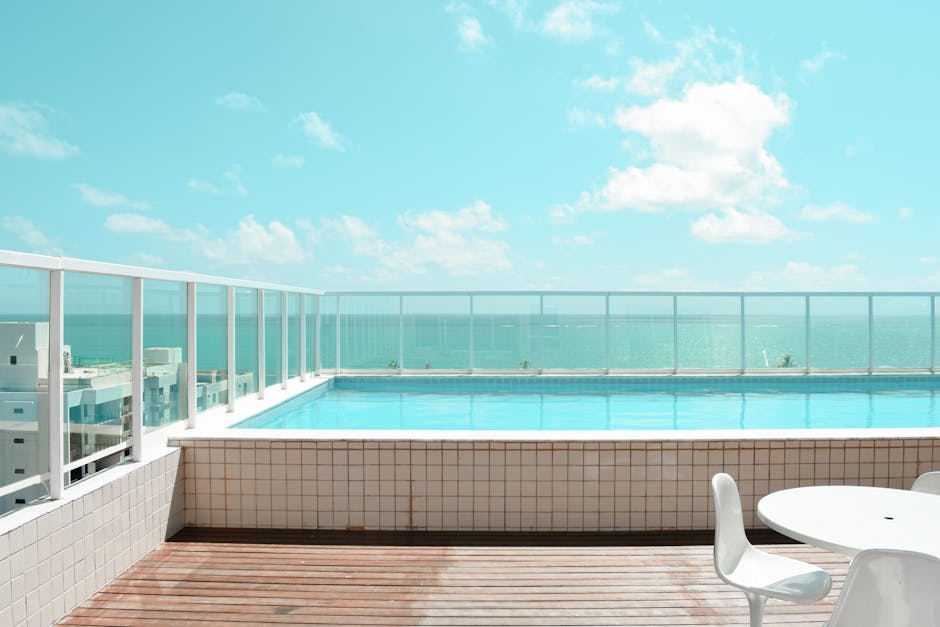
I’ve spent the last 12 years crawling around backyards from Palm Harbor down to the heart of Safety Harbor. I’ve seen it all: pools losing an inch a day, panicked homeowners convinced they have a catastrophic crack, and, of course, the classic Florida "it’s just evaporation" argument. Look, I’ve been a pool tech, and now I specialize in finding leaks. One question I get at almost every single job is: "Could it be my deck joints?"
Before we start tearing up your pavers or guessing at the source, let’s get one thing straight: nobody should be digging up your yard until we have proof. Whether you are dealing with a potential pool deck joint leak or a mystery drop in Article source your water level, let’s break down the process properly.
The "Evaporation Myth" and the Bucket Test
Every single time I walk up to a pool in Safety Harbor, the first thing I ask is: "How much water have you added in the last 24 hours?"
If you tell me "it’s probably just evaporation," I’m going to stop you right there. While Florida’s humidity and heat do impact water loss, it is never, ever an inch a day. If your pool is dropping significantly, it’s not the sun; it’s a leak. To prove it, we use the Bucket Test. This is the gold standard for separating reality from the Florida sunshine myths.
How to perform a proper 24-hour Bucket Test:
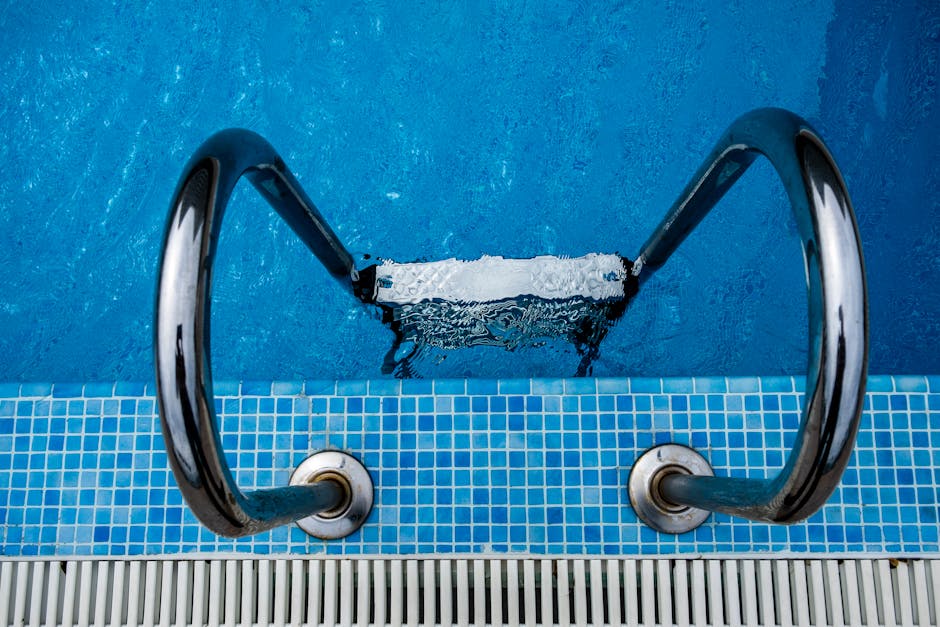
Bring your pool water to the normal operating level. Fill a five-gallon bucket with pool water about 5 inches from the top. Place the bucket on the first or second step of the pool (so it’s submerged, but no pool water gets inside). Mark the water level on the inside of the bucket and the water level of the pool on the outside of the bucket with a piece of tape. Wait 24 hours and compare the two drops. If the pool level dropped more than the bucket level, you have a leak.Safety Harbor Pool Leak Detection: Why the Soil Matters
Operating in Safety Harbor is unique because of our soil composition. We deal with sandy soil and a water table that fluctuates wildly. When you have a leak in a suction line or a return line, that water isn't just disappearing into thin air; it’s pushing out into the surrounding soil. Over time, that creates a void. That void is what eventually causes your deck to crack, settle, or sink.
This is why visual inspection of the pool deck is so vital. If I see a hairline crack in your decking, I’m not just looking at a cosmetic issue—I’m looking for a potential diagnostic clue. Sometimes, a pool deck joint leak is a symptom of a larger issue with the plumbing running beneath it.
The Non-Invasive Diagnostic Toolkit
I’m a firm believer that if you have to bring a jackhammer out on day one, you’re doing it wrong. I pride myself on using high-tech, non-invasive methods to find the culprit before we ever touch a shovel.
1. Dye Testing
This is my primary tool for structural issues. If I suspect a leak at the light niche, skimmer mouth, or main drain, I use a specialized dye. If there is a crack or a failing seal, the dye will be pulled right into the leak, effectively pointing me to the exact spot where your water is escaping.
2. LeakTronics Acoustic Detection
When the leak isn't in the shell, it’s usually in the pipes. This is where LeakTronics acoustic detection comes in. Using high-sensitivity microphones, I can listen through the concrete deck to hear the actual sound of water escaping a pressurized pipe. It’s like using a stethoscope for your pool plumbing. It’s incredibly accurate and saves you from the "guess and check" method of digging up your entire backyard.
3. Pressure Testing
If the acoustic testing identifies a suspect line, we follow up with pressure testing. By isolating segments of your pool’s plumbing system, we can verify exactly which pipe is losing pressure. It’s methodical, it’s data-driven, and it keeps costs down by narrowing the repair area to a tiny spot.
Common Leak Locations: A Quick Reference
When conducting a Safety Harbor pool leak detection visit, these are the "usual suspects" I see most often:
Location Common Symptom Detection Method Skimmer Throat Water loss only when the pump is off Dye Test Return Lines High water loss, air bubbles in jets Pressure/Acoustic Light Niche Slow, steady drop regardless of pump Dye Test Deck Joints Cracking/settling near plumbing runs Visual/AcousticWhy Avoid "Salesy" Tactics?
You’ve probably seen the ads—companies promising "guaranteed repairs" without ever actually finding the leak, or technicians who show up with a backhoe ready to dig before they’ve even looked at your skimmer. That’s not how I operate. I believe in transparency. Pretty simple.. If a company won't show you the data or explain *why* they want to dig, tell them to leave.
I’ve partnered with professional teams like Level Up Leak Detection because they share the same philosophy: verify first, repair second. We don't believe in unnecessary digging or scaring homeowners into re-plumbing their entire pool when all they need is a quick seal on a light niche or a patch on a deck joint.
What to Do Next
If you're noticing your water level dropping, don't ignore it. That water running under your deck is softening the earth, and the longer you wait, the more expensive the repair will be.
My Checklist for Safety Harbor Homeowners:
- Run the Bucket Test first. Seriously, do it tonight. Check your pool deck. Are there any new cracks? Any soft spots in the grass near the pool equipment? Document the drop. Note how much the water level changes over 24 hours with the pump running vs. turned off. Schedule a professional. Look for specialists who utilize acoustic detection and dye testing.
I don't believe in high-pressure sales, and I don't believe in guessing. If you are in the Safety Harbor area and you’re worried about a deck joint or a plumbing leak, reach out for a free estimate. Let’s get eyes on the problem, use the right equipment to verify the source, and get your pool back to perfect working order.