A mini split can make a garage far more comfortable, but garages are tougher to heat and cool than bedrooms. They often have thin or missing insulation, leaky overhead doors, concrete floors, high ceilings, and frequent door openings. Choosing equipment from an interior-room chart or treating the installation like a simple plug-in appliance can lead to poor comfort, higher bills, or electrical problems.
Below are common DIY mini split mistakes to watch for, along with practical ways to avoid them. Rules, equipment, and installation requirements vary, so read the exact manufacturer’s manual and check local permitting requirements before starting. If a job involves unfamiliar electrical work or refrigerant procedures, get help from a qualified professional.
1. Using the Wrong BTU Chart for a Garage
One of the biggest sizing mistakes is using a basic bedroom or living-room BTU chart. Those charts assume more typical indoor conditions and often don’t account for a garage’s heat loss, air leakage, or large door. A garage may need roughly 30% to 50% more capacity than an interior room of the same floor area, but that is a starting adjustment—not a substitute for a proper load calculation.
Before comparing units, assess what the space is actually like. Note the floor area, ceiling height, insulation in the walls and roof, the overhead door’s construction and seals, window exposure, and how often the garage door opens. A tall garage has more air volume than a standard-height room, while an uninsulated roof or leaky door can add a substantial heating and cooling load.
- Measure the whole conditioned space. Include connected work areas, but don’t count an unconditioned attic or other space as part of the room. Check insulation and air leaks. A mini split cannot compensate efficiently for major gaps around doors or missing insulation. Consider use patterns. Frequent vehicle traffic, workshops, and open garage doors can change the load. Account for ceiling height. A high ceiling can make temperature control less even, especially in heating mode.
Oversizing is not automatically safer. A unit that is too large may reach its target quickly without running long enough to control humidity well, and it can cycle more often. Undersizing can leave the garage uncomfortable during the coldest or hottest weather. When the manufacturer’s sizing guidance and a rough square-foot chart disagree, use the more complete load information rather than picking the larger number by instinct.
2. Picking a Unit Without Checking Cold-Weather Heating Performance
For a garage in a cold-winter climate, the headline heating capacity is not the whole story. Heat pump output can change as outdoor temperatures fall, and some models may require supplemental heat or provide less capacity in deep cold. Check the manufacturer’s performance tables for heating capacity at the outdoor temperatures you actually experience—not just the nominal rating.
Also look at the specified operating Have a peek at this website temperature range, defrost behavior, and any guidance about snow clearance or outdoor-unit placement. If the garage needs to stay warm for plumbing, stored materials, or regular work, consider what happens during the coldest weeks and during a power outage. A mini split is not a guarantee of a particular indoor temperature under every weather condition.
3. Choosing Between Zone Air and MRCOOL Without Comparing the Exact Kit
Brand names alone don’t tell you whether a DIY installation will suit your garage. MRCOOL is known for DIY-oriented mini split systems, while Zone Air is another name homeowners may encounter when shopping for equipment or installation options. Compare the exact model and included kit rather than assuming that every product under a brand or seller name has the same features.
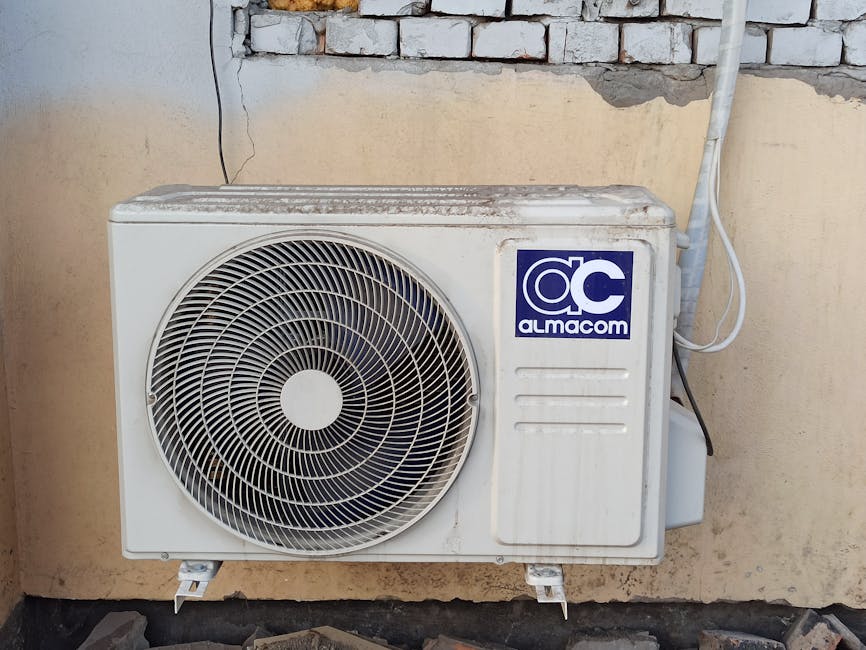
One detail worth checking before ordering is whether the line set is the right length for the actual route. Avoid a layout that leaves excess line coiled behind the condenser unless the installation manual specifically allows that configuration and explains how to handle it. Plan the route, bends, wall penetration, and outdoor-unit position first. Compare the manuals and support options for the specific Zone Air and MRCOOL models you’re considering, and contact the seller or manufacturer about any unclear requirements.
4. Making a 115V Plug-In Versus 230V Decision by Convenience Alone
Some mini splits are designed for 115V circuits; others require 208/230V. A plug-in model can seem simpler, but it still has to be used on a circuit that meets the manufacturer’s requirements. The receptacle’s appearance or the fact that a cord fits does not prove the circuit is suitable.
Before choosing, read the equipment nameplate and installation manual. Confirm the specified voltage, minimum circuit ampacity (MCA), maximum overcurrent protection (MOCP), breaker size, conductor requirements, disconnect requirements, and whether the circuit must be dedicated. These values are model-specific. Do not guess the breaker size from the unit’s BTU rating or replace a breaker with a larger one to stop trips.
- For a 115V unit: Verify that the designated circuit has adequate capacity and is not shared with heavy loads such as a compressor, freezer, or power tools. For a 230V unit: Confirm that the panel has capacity for the required two-pole breaker and that the wiring and disconnect meet local code. For either voltage: Check the manual for dedicated-circuit requirements and local permit or inspection rules.
An electrical overload can show up as a tripping breaker, voltage problems, overheating conductors, or nuisance shutdowns. A dedicated circuit is common for this type of equipment, but the exact requirement depends on the model and applicable code. If the panel is full, the service capacity is unclear, or you are unsure how to calculate or install the circuit, stop and consult a licensed electrician. Electrical work is not a good place to improvise.
5. Putting the Indoor Head in a Bad Location
Bad indoor unit placement can make a correctly sized mini split feel ineffective. A head mounted where the air blows directly onto a workbench, vehicle, or seating area may be irritating. A unit tucked behind shelves or a garage door track may have restricted airflow. Mounting it too close to the ceiling, a corner, or another https://smoothdecorator.com/how-short-should-i-keep-the-line-set-run-for-a-garage-mini-split/ obstruction can also conflict with required clearances.
Think about the whole air path. The indoor unit should have the clearances specified in its manual, a solid mounting surface, and room to circulate air across the garage. Avoid aiming airflow straight at the overhead door if that door is a major source of heat loss. Also consider the control sensor: if the head reads a pocket of warm or cool air that doesn’t represent the occupied work area, the system may satisfy the thermostat before the rest of the garage feels comfortable.
Make a cardboard or tape outline before drilling. Check framing, wiring, plumbing, door hardware, and the proposed condensate route. A small placement adjustment before installation is usually easier than trying to correct a poor airflow pattern afterward.
6. Placing the Outdoor Unit on an Unstable or Snow-Prone Surface
The condenser needs a stable, level support and the clearances required by its manual. A condenser pad can provide a straightforward base on firm, well-drained ground. Wall brackets may be useful where ground space is limited or snow accumulation is a concern, but the wall and fasteners must be suitable for the unit’s weight and vibration. Follow the manufacturer’s instructions for whichever support method you choose.
In snowy areas, keep the outdoor unit above expected snow accumulation and away from roof-drip zones that can bury it in snow or ice. Leave space for airflow and service access. Don’t place it where exhaust from a dryer or other equipment will blow into it, and don’t box it in with a tight decorative screen.
7. Ignoring Condensate Drainage and Weather Sealing
The indoor unit produces condensate in cooling mode, and the drain needs a continuous route that follows the manufacturer’s instructions. A pinched, uphill, or poorly supported drain can leak into the garage. Before closing up the installation, test the drain and verify that water exits where intended. Keep the outlet clear of debris and consider how it will behave in freezing weather if the drain runs outdoors.
Seal the wall penetration against air and water after the line set, drain, and wiring are in place. Use suitable materials and follow local requirements; avoid crushing or sharply bending the line set while sealing. A neat-looking installation is not enough if wind-driven rain or cold air can pass through the opening.
8. Comparing Efficiency Labels Without Thinking About Usage
SEER2 measures seasonal cooling efficiency under standardized test conditions; HSPF2 measures seasonal heating efficiency. Higher ratings can indicate better efficiency, but they do not by themselves predict a specific utility bill. Actual cost depends on local electricity rates, weather, thermostat settings, building leakage, equipment sizing, and how many hours the system runs.
Use the ratings to compare similar equipment, then consider your garage habits. A garage kept near room temperature all day will generally use more energy than one warmed only before evening projects. Sealing leaks and insulating the overhead door can improve comfort and may reduce runtime, which can matter as much as choosing a slightly higher-rated model. For a rough operating-cost estimate, use the unit’s power information, expected run time, and your electricity rate; treat the result as an estimate, not a promise.
9. Skipping the Manual, Permits, or a Professional Check
DIY-friendly does not mean that every part of the job is unrestricted or risk-free. Manuals differ on mounting clearances, line-set handling, wiring, drainage, and startup. Local rules may require permits or inspections. Confirm requirements with your local building department before work begins.
If you want help comparing estimates or finding a local professional, Angi can be one place to research contractors. Check credentials, insurance, references, and the scope of work directly; a listing is not a substitute for verifying qualifications. A professional review can be especially useful for electrical capacity, cold-weather sizing, and installation details that are difficult to assess from product listings alone.
A Practical Pre-Installation Checklist
Measure the garage, ceiling height, insulation, door leakage, and window exposure. Use garage-specific load information instead of relying on the wrong BTU chart. Compare low-temperature heating capacity and operating limits for the exact model. Review Zone Air and MRCOOL options by manual, kit contents, electrical specs, warranty, and service—not name alone. Confirm whether the unit is 115V or 230V and verify the circuit and breaker requirements before purchase. Plan indoor airflow, line-set routing, condensate drainage, and outdoor clearance. Choose an appropriate condenser pad or properly rated wall brackets. Check permit rules and get qualified help for work outside your experience.The most common garage mini split mistakes usually begin before the first hole is drilled: sizing from an interior-room chart, overlooking insulation and ceiling height, or buying a unit without checking its heating and electrical requirements. Take time to assess the garage, compare model-specific specifications, and plan placement carefully. That preparation makes a DIY installation more likely to deliver useful comfort without avoidable callbacks, electrical overload, or wasted operating costs.