Thinking about installing a mini split system yourself? With brands like Zone Air pushing the boundaries of DIY HVAC, and popular options like the Zone Air DIY 9,000 BTU 23 SEER2 115V wall mount now priced at $1,899.99 (down from $2,499.99), there has never been a better time to consider doing it yourself. But before grabbing your tools, let's talk about what you really need for a quick connect mini split install so you can avoid common pitfalls.
Understanding the New Wave of Pre-Charged Quick-Connect Linesets
Traditional mini split installs often required specialty tools like vacuum pumps, nitrogen tanks, and refrigerant gauges along with an EPA 608 certification. Those days are quickly fading. Modern pre-charged R454B quick-connect linesets drastically simplify the install process.
What Does "Pre-Charged" Mean?
“Pre-charged” means the refrigerant is already sealed inside the lineset, ready to connect. No longer do you have to worry about vacuuming the system to remove moisture or pulling precise pressures to charge the refrigerant. This saved time can shave hours off your installation and avoids the need to legally handle refrigerants yourself.
Why R454B?
R454B is a newer, low-global-warming-potential refrigerant designed for the latest mini splits. Its compatibility with pre-charged quick-connect linesets means better efficiency and environmental responsibility with less hassle during installation.
Essential Tools for a Quick Connect Mini Split Installation
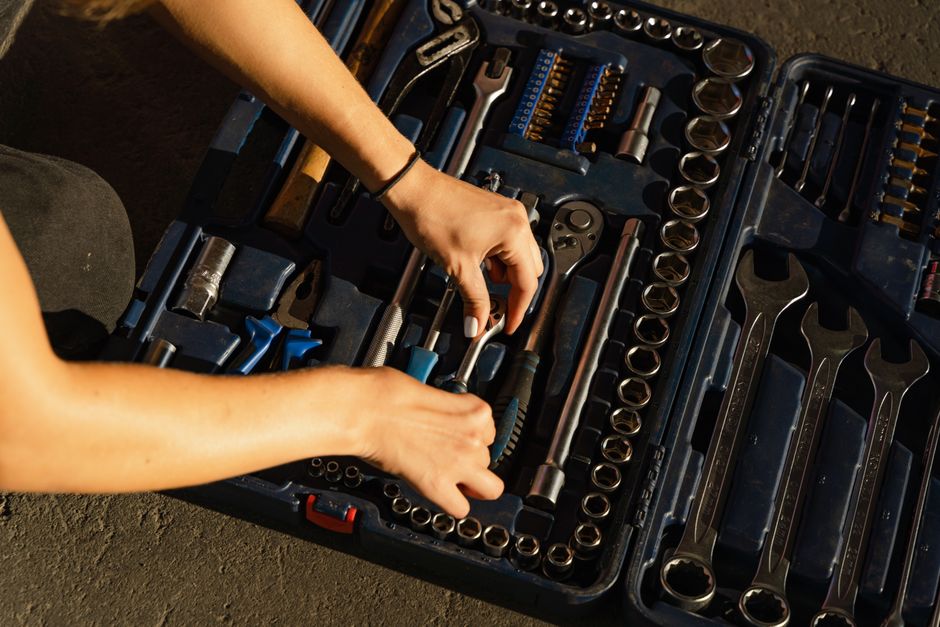
While the pre-charged system cuts down tool needs, you still need some basic hand tools and attention to detail. Here's what you'll want to have on hand:
- Basic Hand Tools: Adjustable wrench, pliers, drill with appropriate bits, screwdrivers (Phillips and flathead), level, tape measure, and a stud finder. Torque Wrench: This is non-negotiable. Correctly torquing flare nut connections per manufacturer specifications avoids leaks and shoulder headaches. As I always say, “torque to spec” is not just a suggestion — it’s a must. Mounting Bracket and Hardware: Included with most systems, but double-check you have masonry anchors, lag bolts, or other hardware suited for your wall material. Electrical Test Tools: Multimeter to verify outlet voltages and breaker connections before hooking up your unit. (And please: what breaker is this on? — I ask every time.)
What You Don’t Need
Because you are using a pre-charged quick-connect lineset, you do not need:
- A vacuum pump or refrigerant recovery equipment. Refrigerant charging gauges or manifold sets. EPA 608 certification for handling refrigerants.
These savings alone can make the DIY route vastly more accessible and cost-effective.
Sizing Your Mini Split: Square Footage Matters
Another area I can’t stress enough — measure twice, measure walls, measure windows. The mini split you pick must be sized to the conditioned space, not just “bigger is better.” Over-sizing the BTU capacity just in case leads to short cycles, reduced efficiency, and higher wear and tear.
Square Footage Recommended Mini Split BTU Range Up to 450 sq ft 9,000 BTU (e.g., Zone Air DIY 23 SEER2 115V model) 450 - 700 sq ft 12,000 BTU 700 - 1,000 sq ft 18,000 BTU 1,000 - 1,200 sq ft 24,000 BTUFor example, the Zone Air DIY 9,000 BTU 23 SEER2 115V wall mount we mentioned earlier is perfectly suited for spaces up to 450 sq ft. If you aim higher than your actual room size, you’ll face inefficiencies and comfort problems.
Electrical Realities: 115V Plug-and-Play vs. 230V Dedicated Circuit
One of the biggest conveniences with modern DIY mini splits like those from Zone Air or MrCool is the option for a 115V plug-and-play configuration. This means you don’t have to pull new wiring or open a breaker panel if you already have a dedicated 115V outlet—which many homes do.
However, verify:
The circuit capacity: Your circuit breaker needs to be rated for the unit load. If it’s a dedicated circuit: Shared circuits can cause nuisance trips or insufficient power. The plug type matches the unit’s requirements: Never “just jam it” or modify plugs.For larger units that run on 230V, you will need to run a dedicated circuit, which is not usually a DIY task unless you have electrical experience and permits. Many MrCool models also support pre-charged quick connects but require either 115V or 230V depending on size—make sure you check before buying.
Why Brand Matters for the DIYer
Brands matter not only for quality but also for support and innovative features that reduce install headaches. Zone Air and MrCool have led the charge in consumer-friendly mini splits with features like pre-charged linesets and detailed install guides.

With Amazon Alexa integration now increasingly common in models from these brands, your HVAC system can also be part of a smart home ecosystem without complicated retrofitting.
Final Checklist Before You Start
- Confirm room square footage and select correctly sized unit. Verify your electrical circuit type and breaker capacity (and please, tell me what breaker this is on before you plug it in). Gather basic hand tools and a torque wrench rated for flare fittings. Make sure mounting brackets are suitable for your wall material. Check that your unit comes with a pre-charged R454B quick-connect lineset. Review the manufacturer’s install manual for torque specs and clearance requirements.
Wrapping Up
Installing a mini split has never been more accessible thanks to pre-charged quick-connect linesets, R454B refrigerants, and brands focused on DIY-friendly products. By mastering some basic hand tools, never skipping the “measure twice” rule, and applying proper torque to spec, you can get your HVAC system up and running efficiently — all while learning and saving on professional install fees.
Next time you browse options, keep an eye on deals like the Zone Air DIY 9,000 BTU 23 SEER2 115V wall mount marked down from $2,499.99 to $1,899.99. Combine that with Amazon Alexa compatibility, 30 day return restocking fee and you’re getting top-tier comfort with home automation convenience.
Happy installing! And remember, small mistakes like ignoring torque specs or oversizing can turn into big leaks and bigger problems — you’ve got this.